|
3d bezier
curves in 2007
Why?
Shows you how to use PowerPoint's drawing and 3d tools to
save time and use PowerPoint's own editing and creation tools.
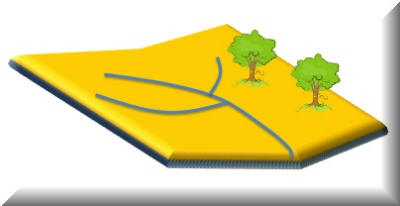
So you know where we are heading, here is the example:
If you feel
uncomfortable with drawing lines and curves, I suggest you check out
Echo Swinford's excellent tutorial on bezier curves.
Bezier Curves
Plus the PowerPoint 2003 version is here:
2003 bezier curves
Now, on with the job!
First, start by adding a rectangle.
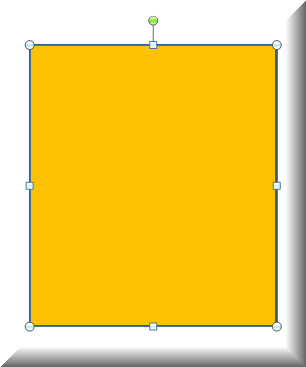
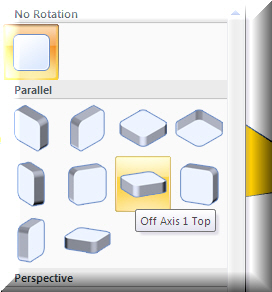
Give it a 3d layover with the Format tab of the Ribbon| Shape Effects| 3d
Rotation| Off Axis 1 Top.
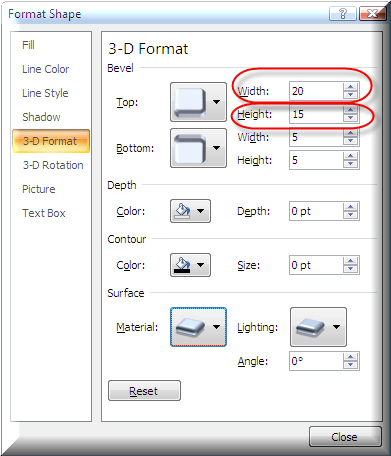
Right click on the shape and select Format Shape.
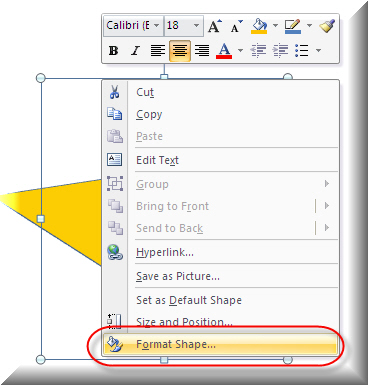
Give it some width and height for the top of the shape. Note this is a
"Modeless" dialog box. You can keep it open while you work!
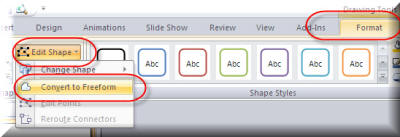
Select the Format tab of the Ribbon (when the shape is selected), the Edit Shape
button| Convert to Freeform. You can now add edit points to the shape.
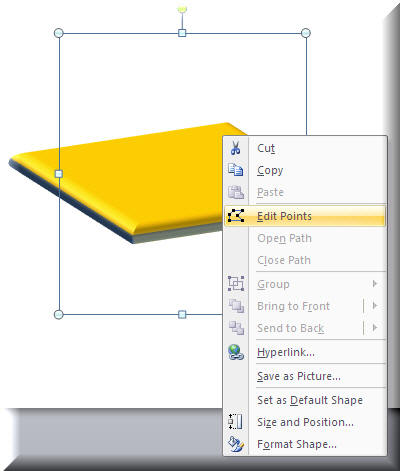
Right click on the shape and select Edit Points.
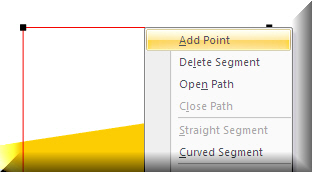
Right click on the middle, top and select Add Point. Do the same for the
centre, bottom of the shape.
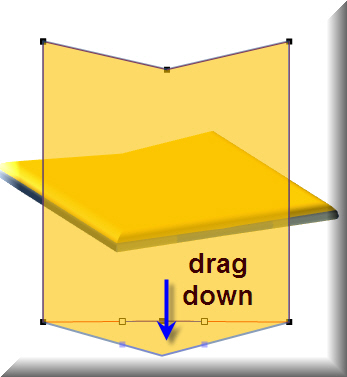
You can see the shape result with a point at top and bottom added. Now select
each centre point and drag it down. Notice that while you are editing points,
the shape converts temporally back to a flat 2d one.
Add trees (clip art) and rivers (lines) to taste!
Download this zip file
© Glen Millar
|
