|
PowerPoint 2007 (and soon, 2010) Ribbon Logic
Logic: what is the logic behind the Ribbon menu
system
Why the new menu system? Well, I can only guess and in doing so,
tell you what it means to me. The trick is to follow the logic and work from left to right across the
menu (the Australian version, anyway). Actually, it is about 2 things:
LOGIC AND DISCIPLINE!
Now, before you start! I'm about
to include customisation of the Quick Access Toolbar (QAT). Echo Swinford
has an excellent series of tutorials on customising the actual Ribbon in 2010,
plus a bunch of other stuff:
Customising the 2010 Ribbon (Opens in a new window)
New features of version 2010 (Opens in a new window)
Importing a customised Ribbon (Opens in
a new window)
Let's have a brief look:
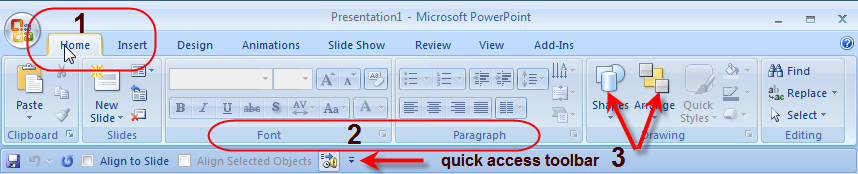
"Home" is where the file and presentation options are. You use
this to start, whether loading an existing presentation or creating a new one.
There are also save and export options.
Notice (above) Tabs (1), Groups (2), Command Buttons (3) and the
QAT (Quick Access Toolbar).

"Insert" is used to create your presentation. This includes
inserting objects such as text, charts, SmartArt or graphs. Again. note the bar at the
bottom (normally it is located at the top, but this position can be changed) with the save icon (and others). This is for customisation (more later).
Anyway, use the "Insert section to build the slides, text, images and objects.
Refrain from formatting individual objects as you add them- you will
totally waste your time.
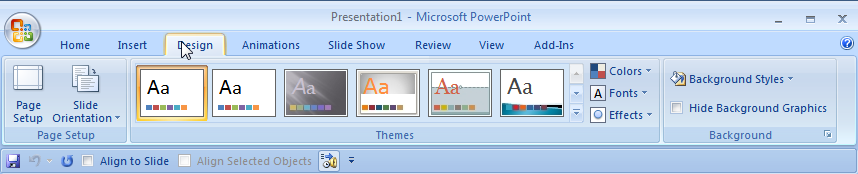
"Design" is where you add formatting through
"Templates" or "Styles". To me, Styles are a subset of a template. You apply a
template first, then change the style.
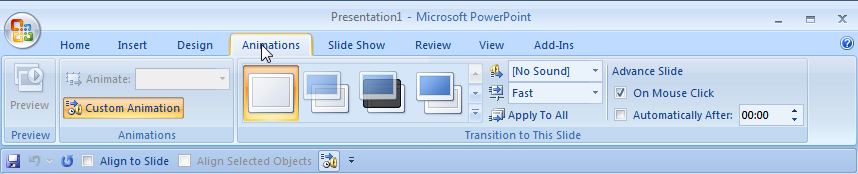
"Animations". When you get to here, your presentation should
largely be built. A lot more of the animation and transition settings are
exposed here, although you will have to click the "Custom Animation" button to
bring up that Task Pane.
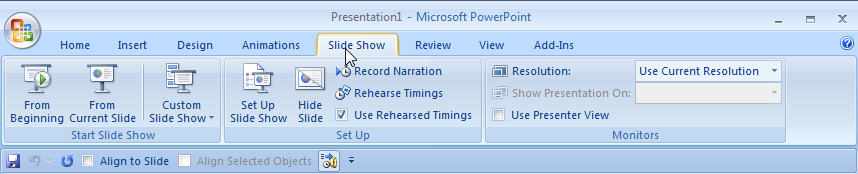
"Slideshow" is all about finalising your presentation
for viewing.
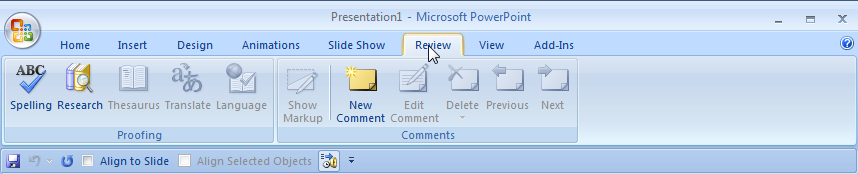
"Review", when you want to send it to someone else to check. A
great new feature of PowerPoint 2007 is Slide Libraries, if you have access to
SharePoint Server.
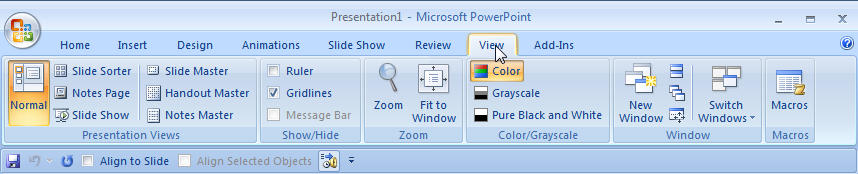
"View" contains options about how you want to work in your
presentation, including slide views, Masters, the ruler and grid and various
window options.
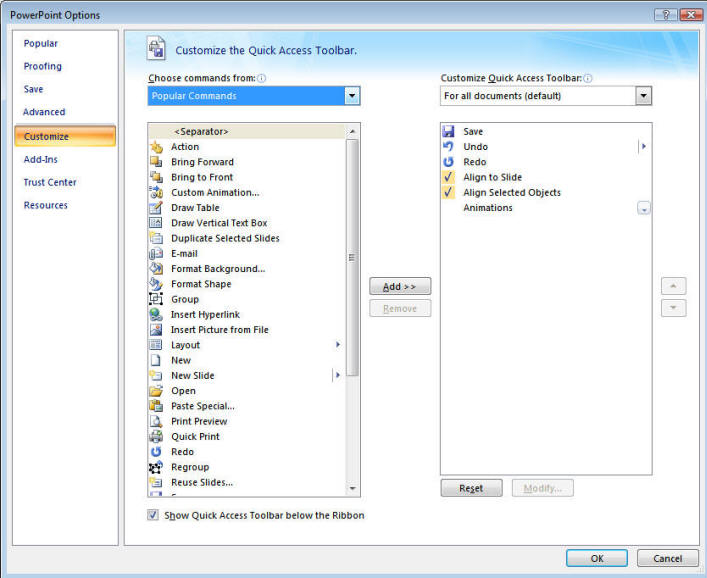
Customising. If you are a power user, you will need this to be
able to get to those functions you use most (you might also discipline yourself
to learn the keyboard shortcuts you will most frequently use!). Remember that we lost the ability
to tear off menus. Now, I hate that, but I think I can see some of the logic
that went into the decision. It is called "Discipline"! That is, if you work the
Ribbon from Left to Right as I have described, you will spend a lot less time
looking for stuff.
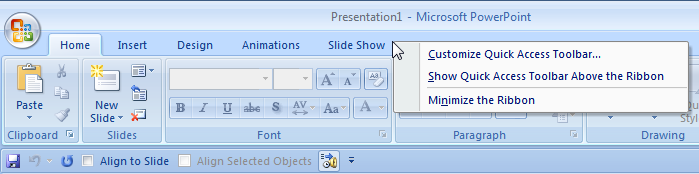
Anyway. Right click on any menu area and you get the
option to Customise the Quick Access Toolbar. You can choose commands
from various Tabs and "promote" or move them to the Quick Access
Toolbar. That is the little toolbar area below the ribbon.
Now, once again, what is the logic? Easy:
-
Work from left to right!
-
Be disciplined to work from left to right.
It is that simple!
|
