|
12 principles of animation
3- staging
Logic: simulate animations to be more real, based on sound animation
principles.
The “old men of animation” established the
12
principles of animation when working for the Disney studios. While not all
of the principles are fully supported by Microsoft PowerPoint 2010 (or 2007, or
2013), there is
much that we can learn that will improve our presentations.
Real objects are real! That is, they have dimensions, are composed of matter
and the real world can interact with them. For example, if you were to drop the
tennis ball, the ball would fall, accelerating, hit the ground and bounce.
Staging is not only a very important animation principle, it is well
supported within PowerPoint.
A PowerPoint slide can be viewed as not only having left and right positions,
but also forwards and backwards.
We can use this to our advantage.
Technique 1- perspective
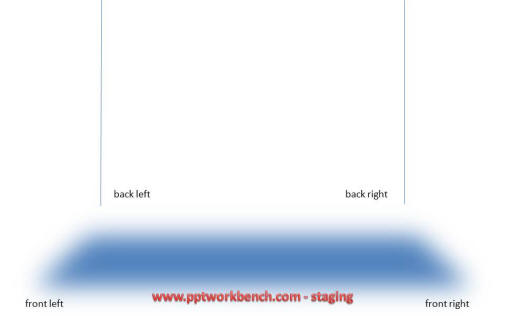
The above image shows various depths locations that can be simulated on a
PowerPoint slide.
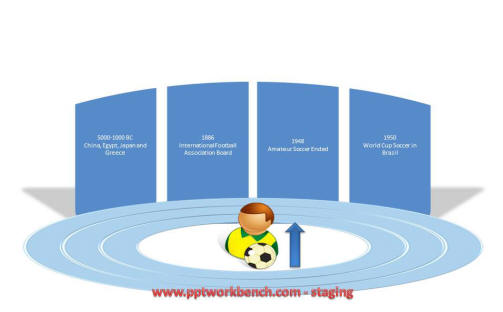
The above image shows the light at the centre of the slide. Notice that the
shadows are balanced as to where the light is.
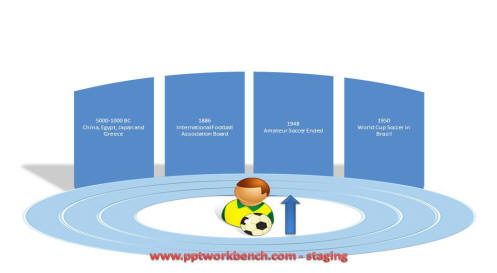
The above image shows where the light was (blue arrow), but the light has
moved to the right of the slide facing towards the back left.
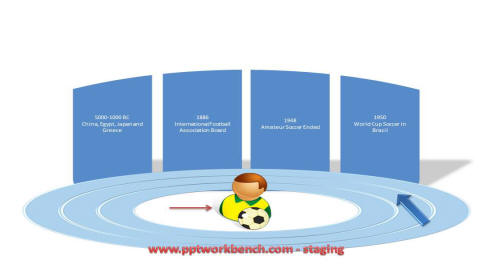
The above image shows where the light was (Arrow), but the light has now
moved to the left of the slide facing towards the right. Notice also (small red
arrow) that the shadow on the icon is no longer correct. These kinds of issues
need to be checked on each slide.
|
