|
Annotations and animations
Logic: helps you animate PowerPoint objects using annotations
in a slideshow
Note that there is important new information for PowerPoint 2013 at the end of
this tutorial.
Before we begin. You would normally do this by grouping an object to
the end of the rectangle. However, that would lock the object, which
would not suit if you wanted to add another animation to it, such as a
spin Emphasis. Anyway...
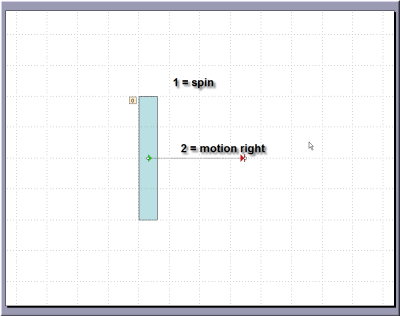
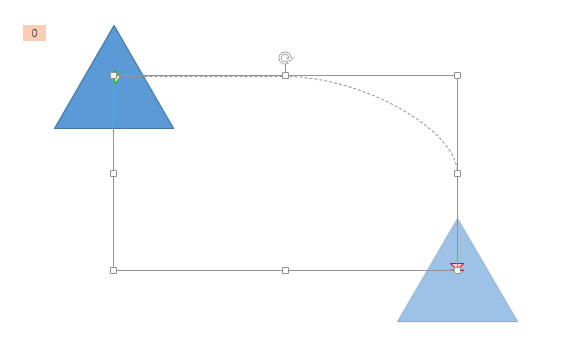
Sometimes you need a more precise idea of where objects will move on
your screen. For example, I have a rectangle that spins 90 degrees
(number 1 in the example) with a Spin Emphasis, as well as moves to the
right with a Motion Path (number 2).
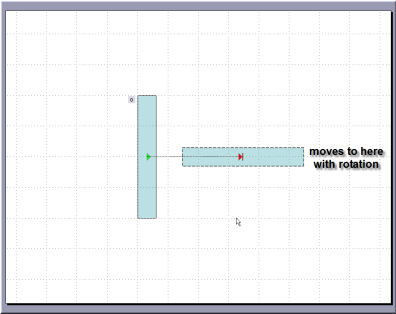
I want to place an object at the top of the rectangle
and have it move with the end of the rectangle. That is easy if it is a simple arc, but what if the
object also moves location on the slide? One help is to use annotations.
Put simply, you run your animated slideshow very slow and use
annotations to draw where things will be at certain times.
First, we set our animated slideshow to run very slow.
That will give us time to annotate our animations.
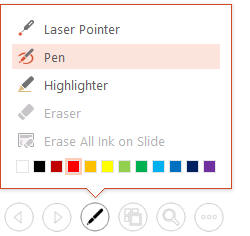
The trick is then, in our slideshow, to get the felt tip
pen. In PowerPoint 2003, this is available from the slideshow menu or by
hitting <Control + p>.
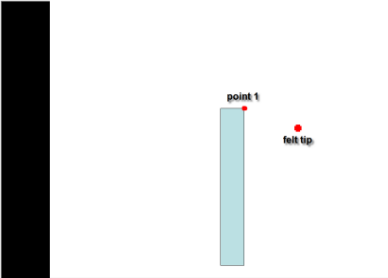
Before I start the animation (set to commence on mouse
click), I draw an point with the felt pen at the start of the
edge.
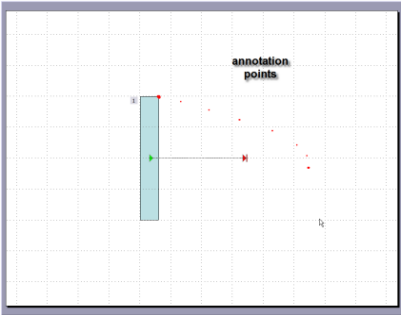
Then, when I hit the <Enter> key to start the animation
process, I draw a new point as time goes by.
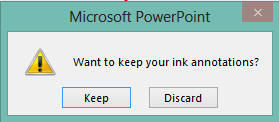
When you exit the slideshow, you will be prompted
(unless you bypassed this in the options settings) to keep annotations.
Do this.
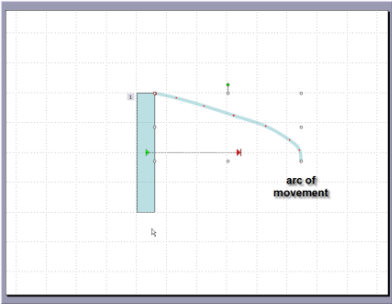
I then get an idea of where the edge moves.
Once you get
the hang of this, you can use it to help you design some powerful stuff
with a bit more ease.
in PowerPoint 2013you now get image previews when you
place motion paths. This is so much easier to work with and a really good
feature.
|
