|
Save a portion of an image as a picture
Logic: reuse parts of your images
Before I start, there is another, very
good technique that you should check out , which does a crop
with a lot of accuracy. It is from
Mukund Nadkarni on
PowerPoint Heaven.
Anyway, it is easy to save a portion of an image
as an image in both PowerPoint 2003 and 2007.
PowerPoint 2003 first:
Ass an image as your slide background.
Right click on your sidle and select Background.
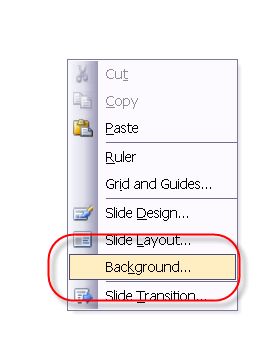
Select Fill Effects.
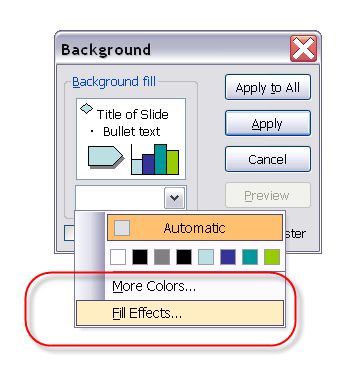
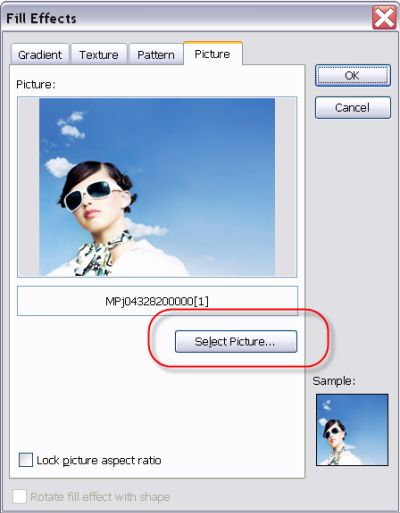
The picture tan and Select Picture. Browse
to a picture and select OK.
Click Apply.

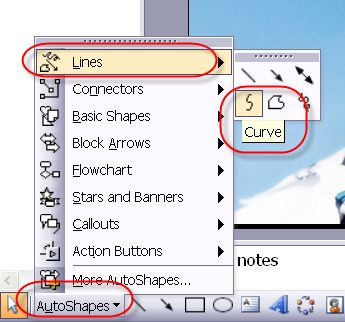
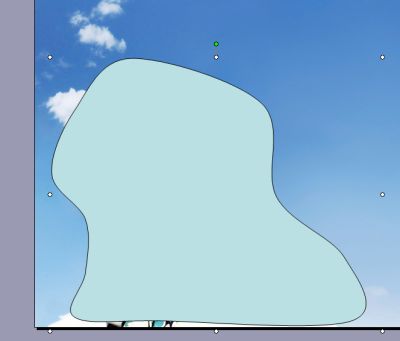
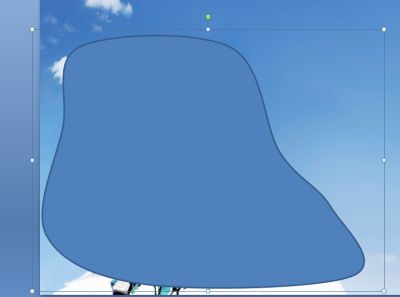
Draw a Freeform Curve.
This is the result.
The the background Fill of the Autoshape
to Background.

Right click on the image and save as
Picture.
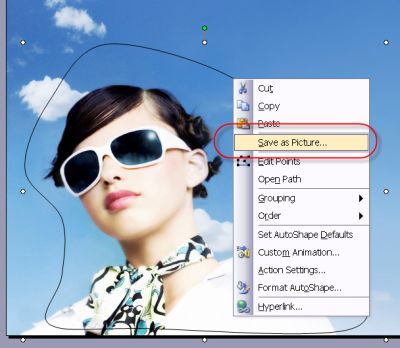
Done!

PowerPoint 2007 second:
PowerPoint 2007 is the same except:
1. The sequence is different.
2. We can add some special effects to the
image before we save it as a picture!
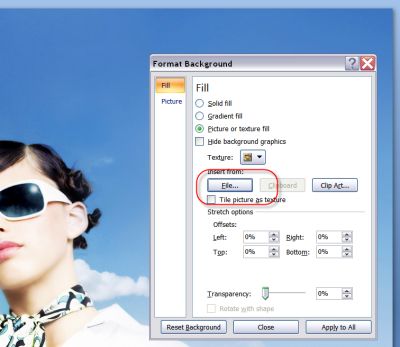
Right click on the slide and select Format
Background. Load an image via the File button.
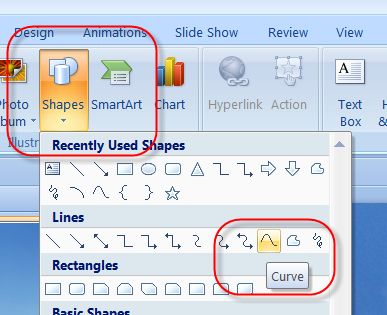
Go to the Insert tab of the Ribbon and
Shapes| Curve. draw a curve around your picture.
This is the result.
Set the Autoshape to background fill.

We also add a Format tab, Soft Edges, 25
point.
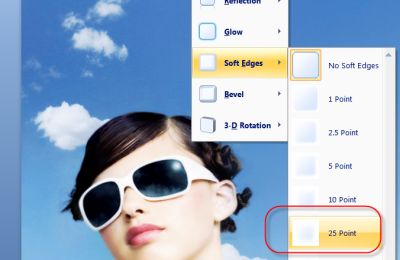
Right click and save the Autoshape as a
picture. Load it into a new slide, and this is the result!

|
