|
Customizing Toolbars
Logic: allow you to place tools you use often to increase the
speed of building a PowerPoint slideshow
My thanks to PowerPoint MVP Bill Foley who gave me the idea for this!
If you are never really happy with where PowerPoint puts its buttons
and menus, then don't put up with it any longer! In this example, I will
add the Align and Distribute menu to my Picture toolbar so I can get to
it fast. Now...

First, we right click on any toolbar and select "Picture" in the
middle. While you are here, also make sure your "Drawing" toolbar is
active.
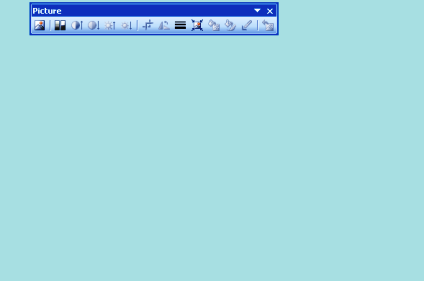
This
activates the "Picture" toolbar.

We
again right click on a toolbar and this time select "Customize".
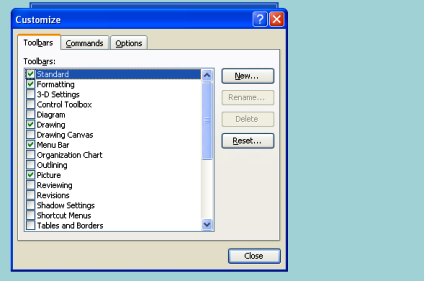
A
Customize Dialogue Box pops up. Now, we don't actually want to use this
box, unless we make a mistake and have to reset our toolbar later on. So
we can drag it right out of our way.

With
the customize Dialogue Box out of our view, look at the Drawing toolbar.
Mine is at the bottom left of my screen, but yours may be elsewhere.
When you click once on the "Draw" button, a menu will pop up. Be careful
with dragging your mouse around here as you can cause damage!
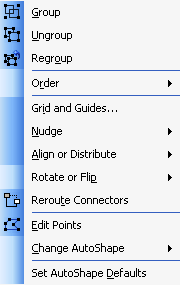
Notice the menu item of "Align and Distribute"? We are now going to do
something very tricky. While we are in the Customize options, we can
actually drag this menu item from its current position, onto the
"Picture" toolbar. This image will show you the path we will
take:

But we have to be very careful! If we just drag it,
it will move, and so we will lose it from its current position. That may
be something you don't mind happening, but don't forget it is gone, and
where you put it. As we are going to put it on my "Picture" toolbar, I
want to create a copy!
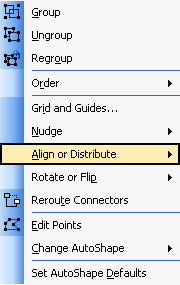
The
trick here is to do a number of things at the same time:
-
First, we have to drag the menu item to the "Picture" toolbar with
our mouse, while
-
Holding down the <Control> key. This will allow us to make a copy of
the menu item, leaving the original in place,
-
Finally, we drag the menu item onto the "Picture" toolbar so that
when it is in a position that it will "set" itself to the new menu,
we will get a vertical line appear on the "Picture" toolbar where it
will drop.

Remember, we have dragged the menu off its "Draw" location, onto the
"Picture" toolbar, while holding the <Control> key. When we get the
vertical line appear where you want it to "set", we drop it, while
still holding the <Control> key. We can then close the
"Customize Toolbar" Dialogue box to set all of our changes.

We
now have a new menu item on our "Picture" toolbar. So, if I want to now
align several images, and if the "Picture" toolbar is active, I
can open the menu item with one click!
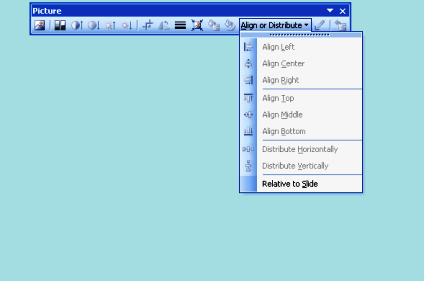
Cool!
But what if we muck it all up? That is, we drag the menu item and lose
it from its original location?
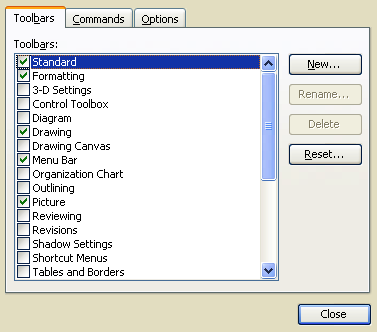
If we
again right click on a toolbar and bring back the Customize Dialogue
Box, find the "Drawing" toolbar [remember, this is the one we dragged
the menu item off], and Click "Reset".
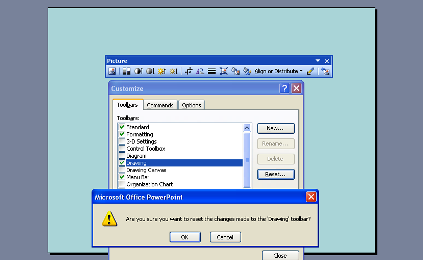
This
will get us our Align and Distribute Menu back on the Drawing toolbar,
to try again.
© Glen Millar
Last Updated: April 02, 2005
|

