|
Connectors and custom anchor points
Method Two
Logic: create your own custom connector points in PowerPoint
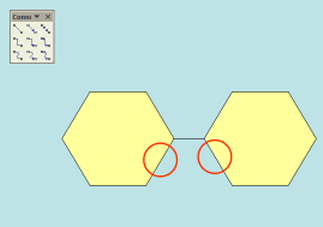
However, I am
not happy with where the connector has attached itself, and for some strange
reason, I want it somewhere different (and I have seen cases where this has
happened).
But, it seams that we are unable to do this because we have only a limited
number of anchor points available for attachment. So, now we try to fool
PowerPoint!
I want my attachment to occur on these two highlighted areas:
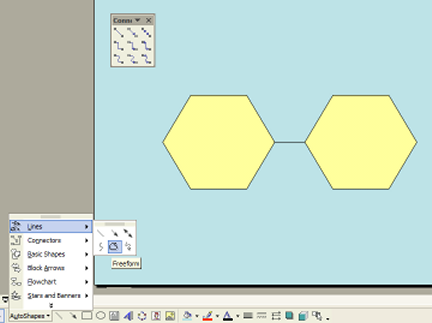
To achieve this, we need to draw custom auto shapes so that we can add extra
anchor points.
To do this, we will use the current hexagons as "templates" to draw custom ones
over the top. Then we will get rid of the originals and use the new ones to add
anchor points.
We get a Freeform line.
And start to trace the Freeform line over the underlying hexagon.
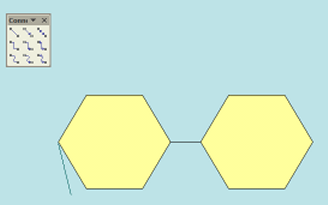
Our
finished line looks like this:
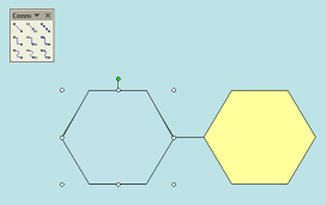
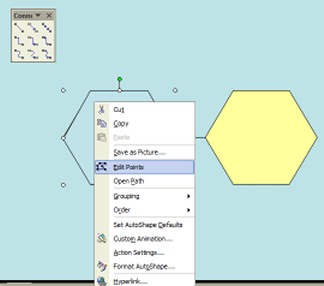
We then delete the one under it. Now we right click on the newly drawn shape and
select edit points.
If the new hexagon is not closed properly, we could close it. As we don't need
to do this in this example, we will select "add point".
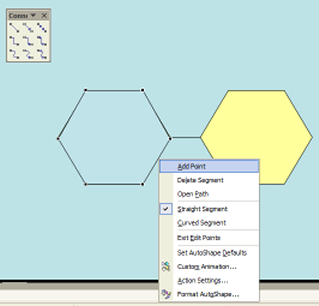
There is a little trick here. When we click "add point", we need to have
right-clicked on the shape where we want the actual point added. We then get an
extra anchor point where we want it. If not happy with its' placement, we cold
always click the point and drag it to a new position.

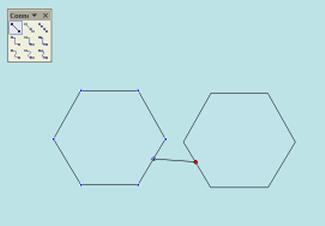
Now, do the same with the other hexagon. In my example, I used a short-cut
method. I went <control + d> to duplicate the first shape, and then simply
flipped it horizontally!

We add the connectors, and if it has worked properly, they will jump to our new
anchor points when we are near them with our mouse.
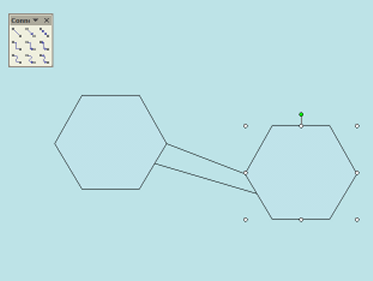
The final way to check the attachment is to move one of the shapes' position.
The connectors will move as well.
Method Three
© Glen Millar
Last Updated:
March 28, 2005
|
