|
Perspector 2:
Logic: put some real 3d effects and animations into PowerPoint
Animations
<Smile> Now to have some fun. We are going to animate a Perspector object. To
cut down on web page size, I'll use a pre-built object from the Perspector
Library. Then we will end will a nifty little trick. Perspector in a web page!
Under the Common Tasks section of the Perspector Task Pane, we select New 3d
image, From the Perspector Library.
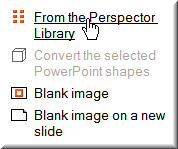
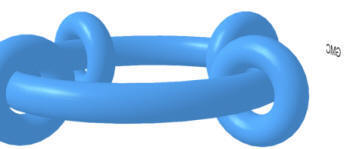
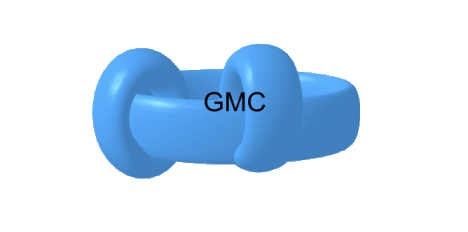
I'm going for the set or rings as they will look nice when
rotating.

What I will do is add some text to a text box so that it will
appear each time the objects rotate.
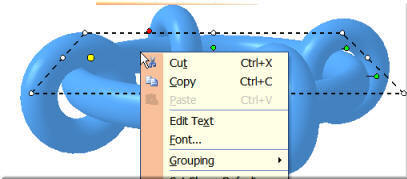
The menu is available by right clicking on the relevant object.
When the text is entered, we have to be a bit careful that it doesn't disappear
behind something closer to the camera (you).
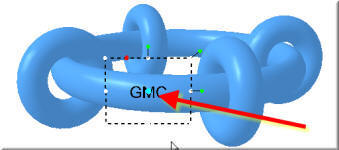
When an object is selected, there are a range of handles
you can grab, most of which are for rotation. But the blue knob is for depth.
Grab it and drag forwards (towards you) and it will come closer.
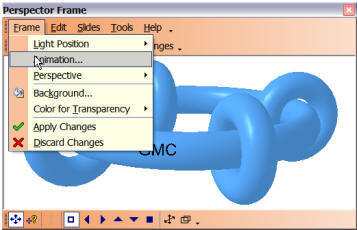
Adding animation is easy via the Frame menu.
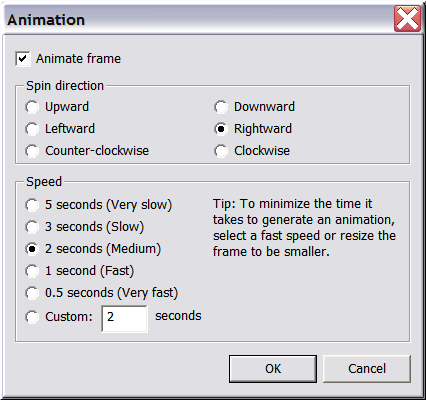
Remember that increasing the length of the animation will
increase the length of time the image takes to render when improving image
quality. It will also increase file size.
Now, some traps. You have to make sure the animation does not go
beyond the bounds of the frame that the objects are in. Else they will disappear
off the edge of the frame.
Also, notice that the text over towards the right is out of line with the other
objects.

There are a number of buttons available in Perspector that allow
you to view from a different angle and reposition. When you apply Changes,
Perspector will render the animations. You will need to improve them later, as I
did in the first tutorial.
Now to the cool bit!
You already know that these animations run within PowerPoint.
But they can also run in Internet Explorer. And in PowerPoint 2003, it is
very easy to access. That is because the animated objects are really presented
to PowerPoint as animated gifs.
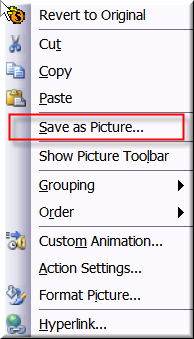
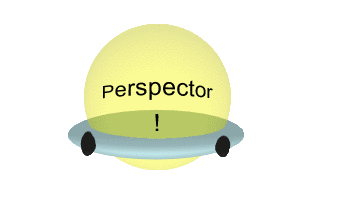
Right click and save the picture out of PowerPoint as an animated gif, and you
will have an animation that can be inserted into a web page. That is how this image
was created! But another important caveat.
While file size is not so important in PowerPoint, it is
critical in web pages. You need to keep your animation very small to take
advantage of this ability. Resizing the frame smaller after you have built it,
will not necessarily reduce file size later. You need to push objects away from
the camera, and then resize the frame to fit them.
Once again, you can check out the
Perspector site for
more details.
|
