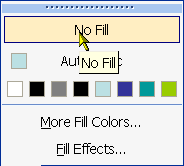
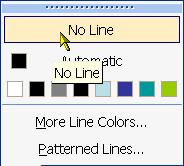
|
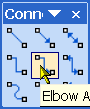
Connectors
and custom anchor points.
Method Four
Logic: create your own custom connector points in PowerPoint
This one is
very simple. We create an object with a connector point that we attach the
connector to. We then hide the "dummy" object, and move the object, (and the
connector) exactly where we want it. The only problem is that we will have an
extra object on the slide we can't see. So...
Let's add
some autoshapes, two for real, and one at the bottom that we will eventually
hide.
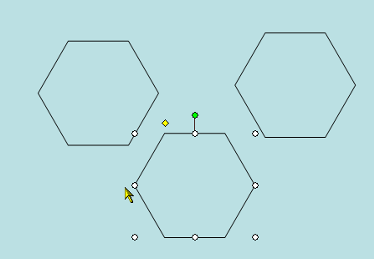
We will want
the connector to go between the top two objects, so we attach it to the bottom!
Please humour me, it will work!
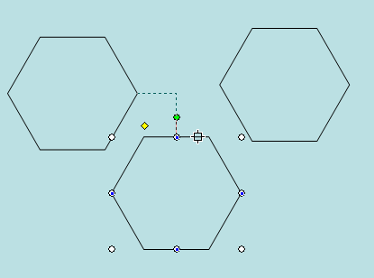
Now that the
connector is attached to our "dummy" autoshape, we can hide it, and then move it
exactly where we want it.
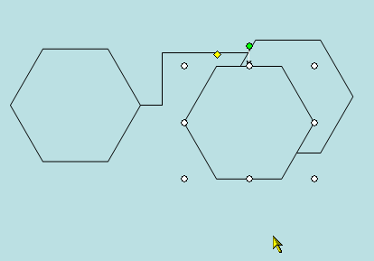
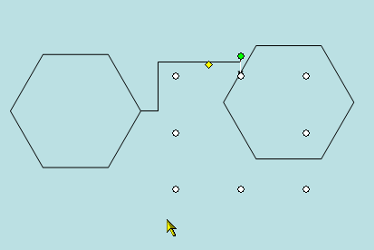
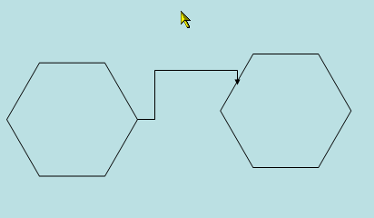
Here, you can
see the outline of the hidden autoshape that is hidden. And the final result?
© Glen Millar
Last Updated:
March 28, 2005
|
