|
Sneaky Camtasia Capture
Logic: get a better resolution of screen capture on slower
machines
Note: This does not replace Camtasia advice on producing
better output resolution in the Camtasia Help file. Go there first.
Camtasia captures your screen content and turns that content
into a movie, which makes it the perfect accomplice for PowerPoint. However, to
take full advantage of capturing, you need a computer with grunt. While there
are many things you can do to get a better result, PowerPoint takes resources
before Camtasia can access them.
Some options for good clarity of capture are : keep your images
in PowerPoint small; don't animate images over a gradient or image background;
and so on. You can also change the playback of PowerPoint to a smaller size by
mucking with Hardware Acceleration. Well, sometimes, even that is not enough.
Here's a trick to allow you to capture a PowerPoint slideshow in reasonable
clarity. You will cut down the chance of getting a jerky playback, and increase
the likelihood of Camtasia doing its job.
Caveat: Your results will depend on
so many things, if you aren't happy, well, you aren't going to be happy :-) And
this type of capture will not produce movies at full screen
in full fidelity. You'll quickly work that out when you see how we do
it. We are making a trade-off of movie size versus clarity. You can also do this
by reducing the output resolution of PowerPoint, say to 800 by 600.Also, using
this technique, Camtasia will not automatically add markers for each slide.
To business!
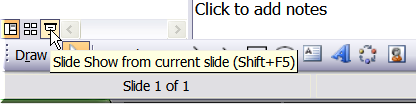
The short version: Using the Control key, you can click
on the slideshow icon to play a full slideshow in a PowerPoint window.
Capturing this window with Camtasia, allows you to get better clarity and less
jerky animations, with important caveats. How?
One of the little known secrets about PowerPoint is that it will
run in a small window. We capture this miniature slideshow and turn it into a
movie. Since we are capturing a smaller version, we get better clarity with less
chance of jerky animations.
The trick is to click the Slideshow icon on the bottom left of
your PowerPoint program. But if you hold certain "accelerator" keys, you get a
different result. For example (Version 2003):
| <Alt + Icon> |
Slideshow in a browser window |
| <Shift + Icon> |
Set up Slideshow box pops up |
| <Control + Icon> |
A slideshow in a real window! |
The trick is this slideshow will run right through, in a
smaller, seamless window, and you can capture it.
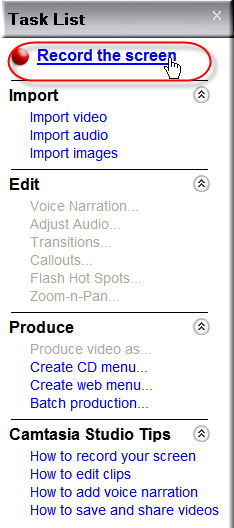
We first have to set Camtasia up to capture the screen. This
will be trial and error to get the right coordinates. We click Record the
Screen...
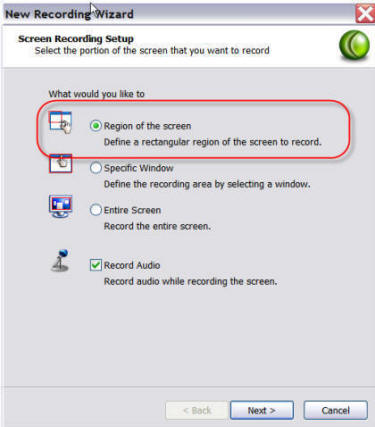
Select a "Region".
This will be tricky, as I said, as you will have to work out
where your window is.
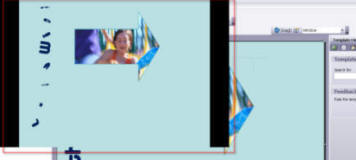
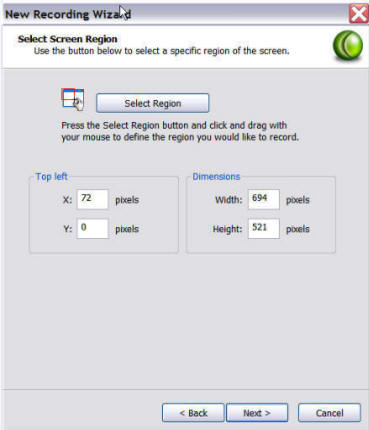
This screenshot is of the top, left part of my window where the
show is running. Anyway, in Camtasia we continue our settings until we get to
the Recorder.
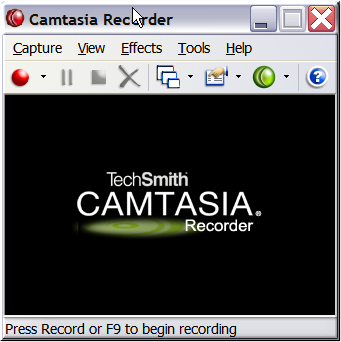
Mine is set to capture with the <F9> keystroke. So:
-
I hit <F9> to start recording.
-
I then go to PowerPoint, hit the <Control + Icon> and
start the slideshow in the window. I realise Camtasia is already recording while
I do this, but we can trim the start out later.
-
When I am finished recording, I use <F10>, which I set in
Camtasia to stop recording.
-
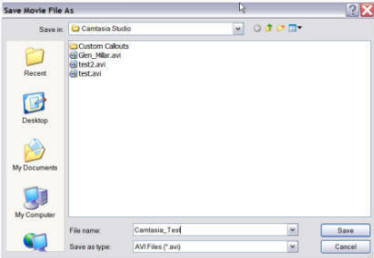
I am prompted to save the file.
-
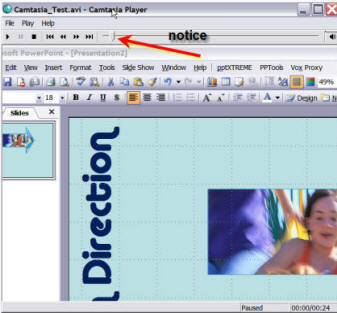
Camtasia pops back up after saving, and the movie preview window
allows me to watch the result.
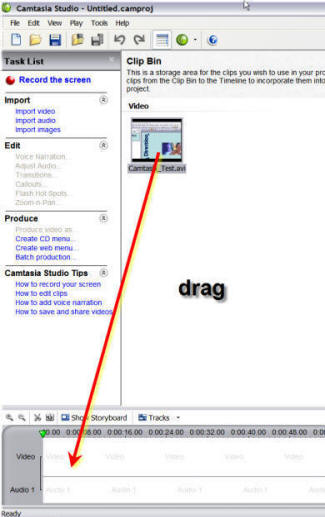
-
I drag the movie onto the time line.
-
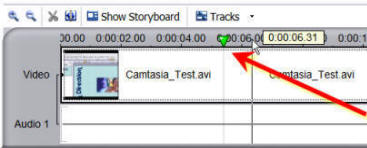
Now to get rid of the bit at the start. I play the movie through
until it is at the start of the actual slideshow. The little green icon which
shows where the scrubber is (the location of the play point in the timeline).
-
Then it is simply a case of splitting the movie in the track,
via Edit| Split. Then delete the first movie that was split off, containing the
initial part before getting the slideshow to play in PowerPoint!
You now have a movie of your presentation. And if your computer resources were
struggling, a movie with much better clarity. But it will be smaller in size.
More information:
MVP Geetesh Bajaj has more information on capturing PowerPoint in Camtasia. Note
that this information was for a version of Camtasia that did not have the
PowerPoint addin.
Cutting Edge PowerPoint and Camtasia
Oh. I'm just sitting on a plane and had this idea. If you have Virtual PC, you
could run PowerPoint in a much smaller window and capture that. But it will take
more resources.
|
