|
Awesome Image Fills!
Logic: a fast way to
fill an autoshape with an image background in PowerPoint
2013
A lot of my work depends on speed in
building presentations. I often reuse animations, changing
the images. This
tutorial demonstrates how.
PowerPoint 2013 offers an absolutely
fantastic way to do this on the fly without drilling down
through countless dialogue boxes.
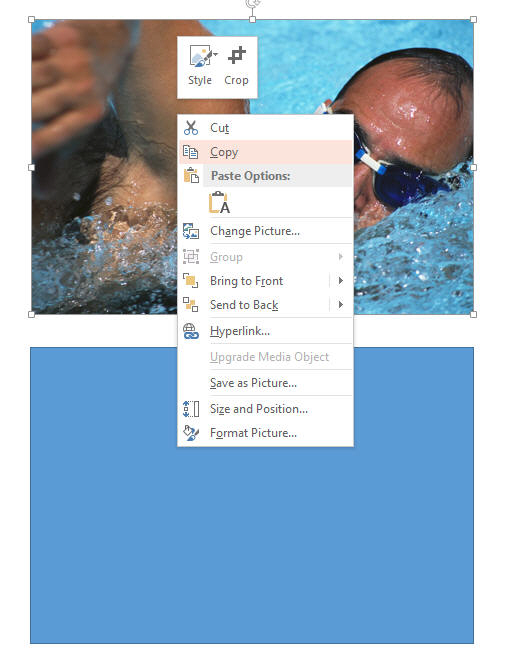
I have an image at the top of the slide
(from a current project I'm working on) and an autoshape at
the bottom.
I right click on the top image and select
"Copy".
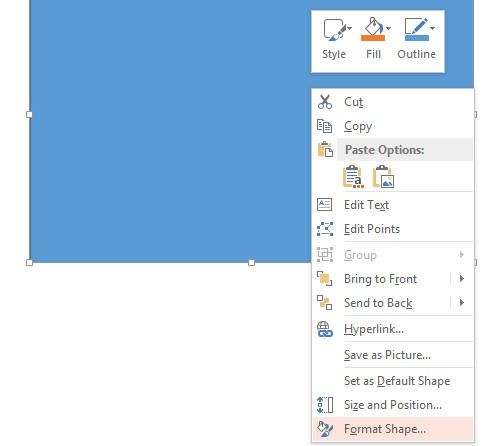
I then right click on the bottom shape and
select "Format Shape".
The format picture task pane appears. Select the paint
bucket icon and the picture or texture fill radio button.
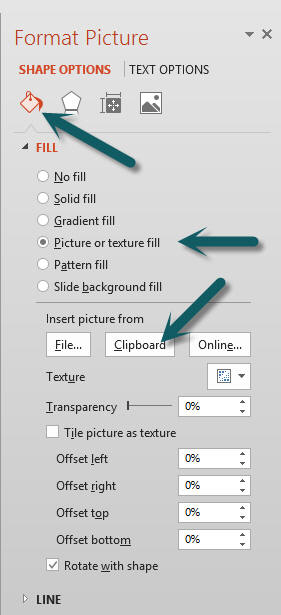
Then click the Clipboard button (also circled
red).
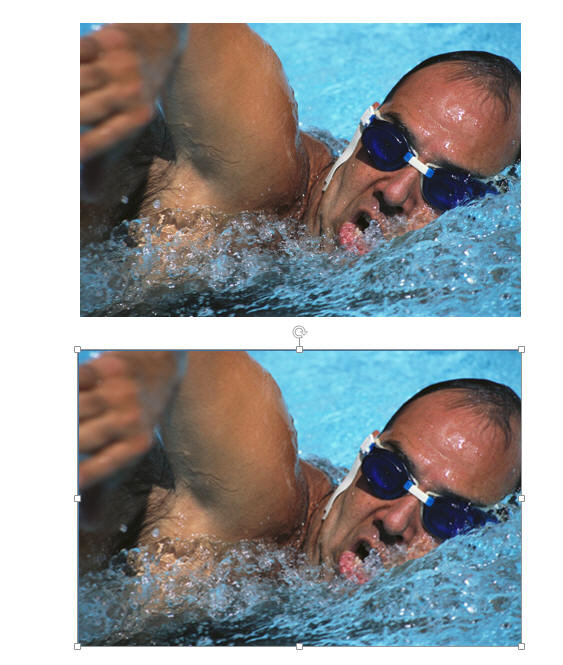
The autoshape at the bottom is automatically
filled with the image from the first picture I placed on the
clipboard when I copied it.
Now, we can go on to do some other effects
only available in autoshapes, in this case by editing the
autoshape points.

Absolutely cool, and a very powerful demonstration of how
some features in PowerPoint 2013 have
been brought to the surface!
|
