|
Integrating graphics into PowerPoint
Logic: access more images from within PowerPoint
Graphics are so important to a presentation. The
following is not really a tutorial but a demonstration to show you a cool new
way to select and incorporate excellent graphics in your presentation, and some
of the high end graphic editing effects in PowerPoint 2010.
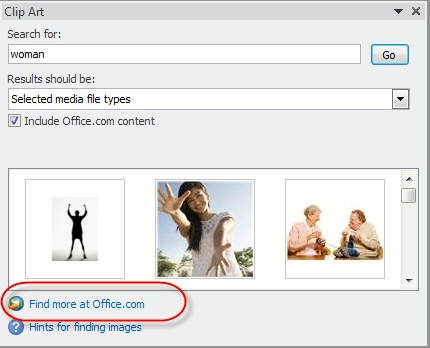
Step 1 is to make a connection between PowerPoint 2010 and an online
graphic provider. The steps are:
-
From within PowerPoint, go to the office.com website to potentially
download more clips.
-
Download the Fotolia add-in for PowerPoint.
-
Sign up for an account and except the terms and conditions.
-
Then you can access either a daily set of free images or images from a
paid subscription.
Let's look at that through a series of images.
Click here to Find more at
Office.com link
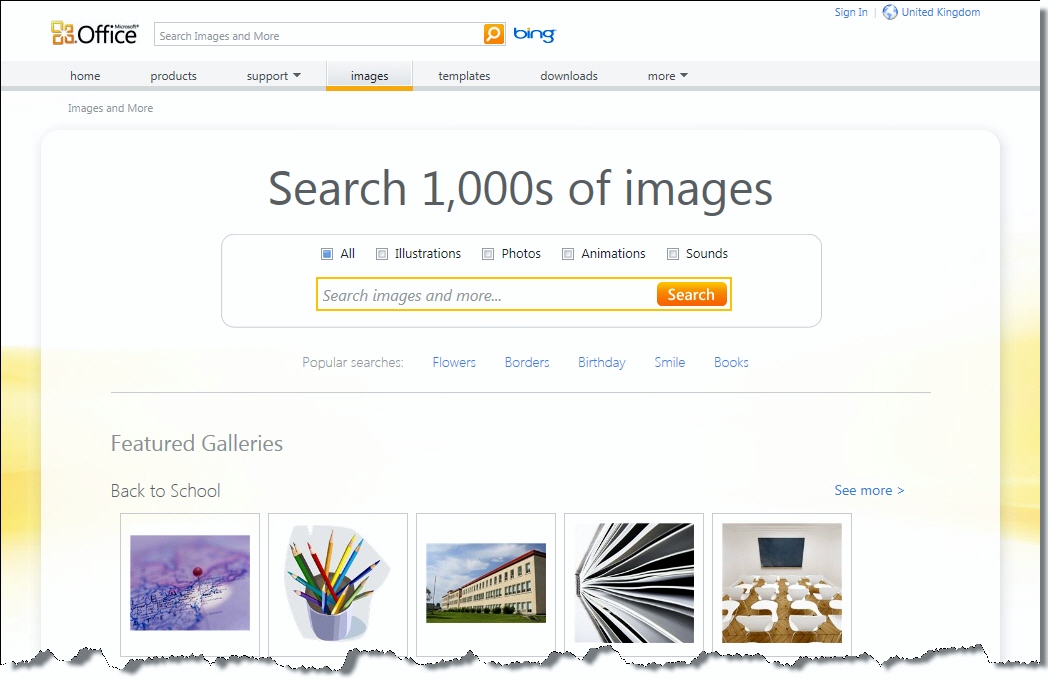
You will be taken to a page where you can search for
thousands of images. Scroll down the page to find the link to the PowerPoint
connector add-in. Click the link to the Fotolia add in.

You will be taken to a page at
http://en.fotolia.com/msribbon
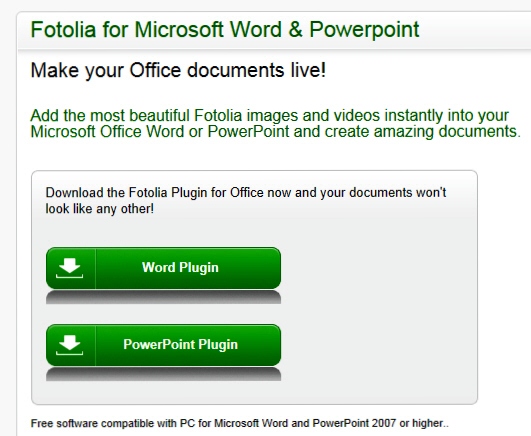
Follow the steps to install the add-in.
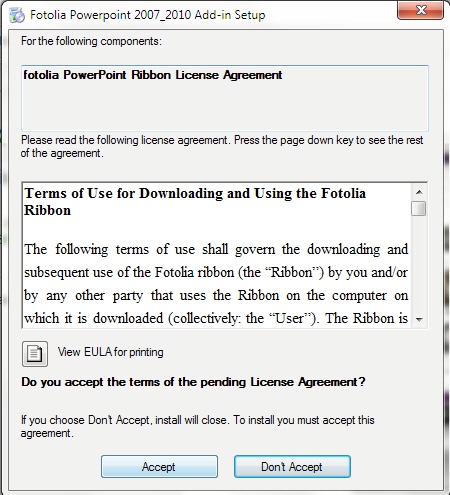
You must Read and accept the Licence
Agreement.
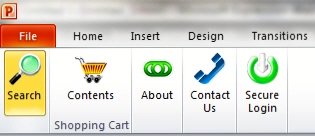
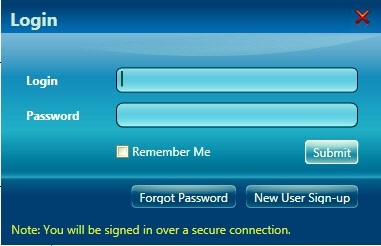
When you next start PowerPoint, you will
have a photon tab on the ribbon. The next step is to login, and if you are not
an existing customer you will be prompted to create a new account.
You have the option of selecting from a
set of daily free images or from a paid subscription. The image below is from
the free subscription area.
Now, you will have access to high quality images from right within PowerPoint!
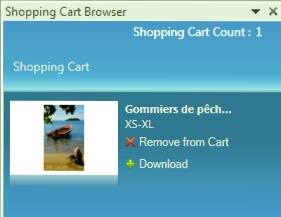
For example, I added the above image to the shopping
cart. It is very important to read and understand the terms and conditions for
each type of image. When I click the download link the image is saved to a
location of my choice on my hard drive. I then insert the image into PowerPoint
2010.
Now that the image is in PowerPoint, let
us do some editing! As I said, this is a demo, not a tutorial- you can work out
how to do this from the images and descriptions. Note that there is an excellent
example from
Ric Bretsneider here!
I insert the image and duplicate
it twice.
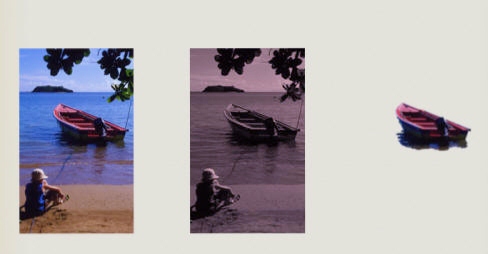
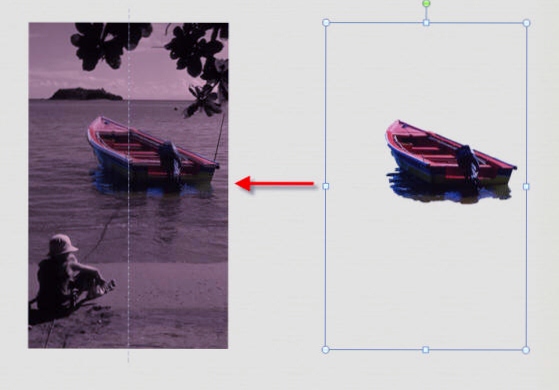
The image above shows the original
at left, the center duplicate (to which a color effect has been applied)
and the third at right (which has had the background removed).
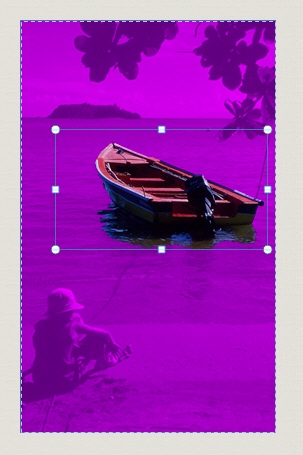
Above is the Background removal tool in use.
Now, when I drag the boat (at right) over the center
image, we get a cool effect as follows.
We can reproduce this affect as many times as we wish.
For example, I'm going to have both the boat and the boy in colour.
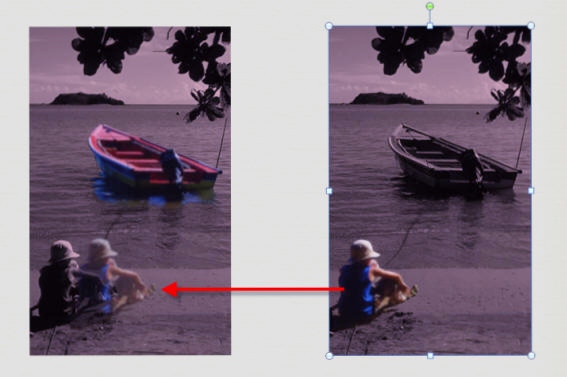
Now, you will notice jagged edges, and we certainly could clean the work up a
lot. But let's look as some sample images I created using this technique in
PowerPoint 2010.


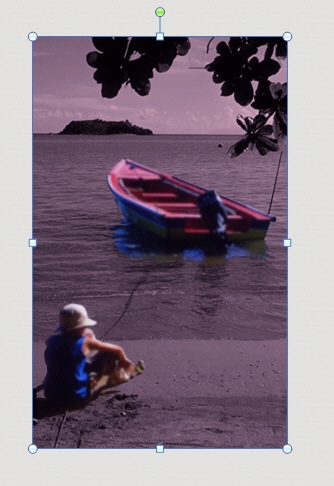
Let's take the above and change the lower duplicate!

Cool!
|
