Many options in PowerPoint are often unseen, until a particular
need arises.
This tutorial shows
how to use some of the 3d options in PowerPoint to roll images
over into layers.
This effectively means you can draw any sort of shape you like
and turn it into a 3d object right within PowerPoint.
I am assuming you have an intermediate knowledge of
PowerPoint.
So, why did I do all this? I've sat through so many meetings
where people tell me about how they are "putting the pieces of the jigsaw back
together", I felt I wanted an alternative. You see, a jigsaw is really a busted
picture that is still broken, even when the pieces are put back together! So, I
went for flat layer where each piece of information is equally important.
The important thing is, this is possible within PowerPoint.
The Solution
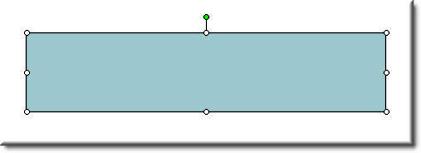
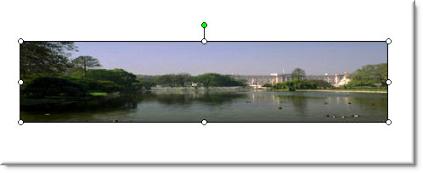
The first step was to
insert a rectangle.
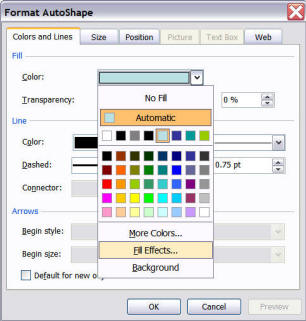
This was then given a background of the image I wanted to roll
over. To do this, right click on the rectangle, and select Format Autoshape|
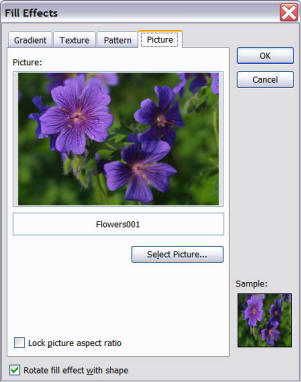
then under the Fill section, drop the "Color" down arrow to get the "Fill
Effects" option| select the Picture Tab, click on the Select Picture button, and
browse to your image. Then click OK enough times to get out and set the image as
background.
OK. It's not the picture you see later on, but this is 2005 and I'm rewriting
it <grin>.
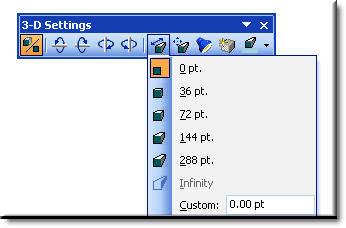
This is where we get to the exciting part!! Because the
image is in a rectangle, the 3d settings are activated:
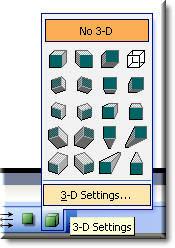
Wow! By clicking the 3-D settings thingy, we get a cool toolbar.
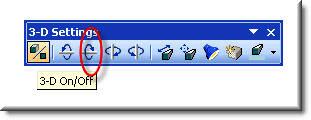
Notice the “tilt-up”
button. By clicking on it as many times as are necessary, the
image is rotated over. (Actually,
my natural reaction was to say it was a tilt- DOWN
button. Maybe it is because PowerPoint is designed in the
northern hemisphere, where everything is upside down)!
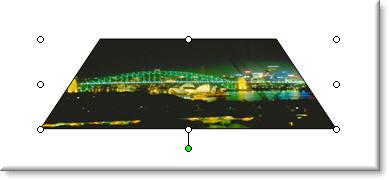
AAAAGH, you say. Where did the fat
background come from? This was generated when PowerPoint
converted the rectangle (with a picture background) into a 3d
object. It can be fixed by setting the depth of the object to
zero. We will change this setting later.
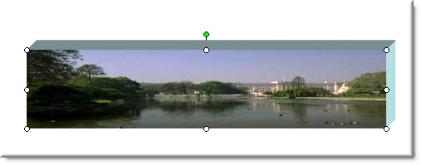
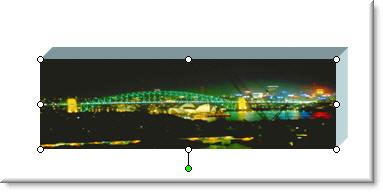
Result:
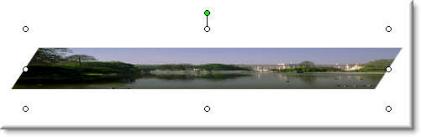
Then we keep rolling (or tilt up) until happy.
Result is:
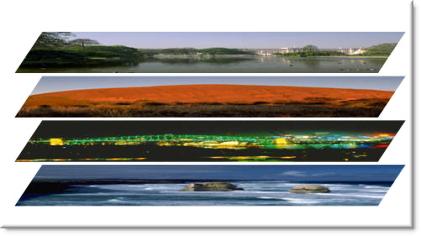
Now, to add the other layers…
Voila!!!
Note that
you can add a small
amount of depth on each image. This highlights each image as a
representation of flat data (or at least, I think so).
Animation wise, each image comes in automatically. So, it starts
with the first layer and builds up to all of them. I tried a one
second delay, but it took too long for all of the slide to build
up.
The resultant slide can be used to show how many layers of
information can be put together in one computer system.
Now,
this is not the only way to do
this, as a trapezoid could have been drawn. In fact, a trapezoid
looks very similar to a rolled over rectangle. However, we come
unstuck when depth is added.
Eg.
This is a trapezoid with a picture added as a background.
When depth is added, it looks like a funny triangle, and not a
flat layer with depth.
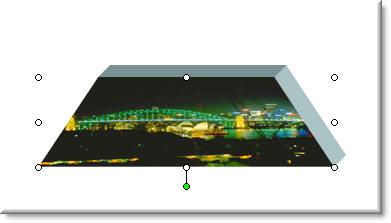
In contrast to a rolled over rectangle:
So, the trapezoid will work, but not if depth is needed.
