|
Connectors
and custom anchor points.
Logic: create your own custom connector points in PowerPoint
Connectors are very important tools
in PowerPoint drawing. They attach themselves to PowerPoint shapes,
and will move with that shape as it is moved around the slide. This
tutorial will show many things:
1. How to use and attach connectors,
How to add custom anchor points by:
2. drawing them,
3. pasting them as an enhanced metafile,
4. using a hidden autoshape.
Method One
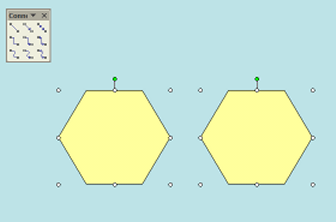
We start with an auto shape.
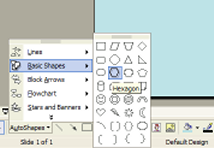
In this case, a hexagon.
When they are drawn, we then change
them to something we can see against the background. You, of course
may not need to do this step!
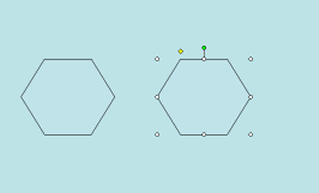
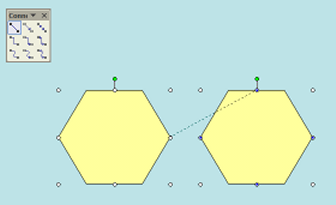
Now it is time to look at the connectors.
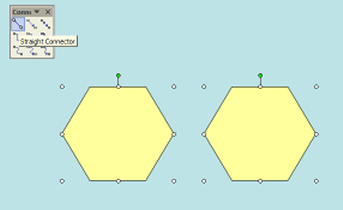
Connectors are cool little lines, with or without arrow ends, that
cling to anchor points on auto shapes. When we select one, we can
hover the mouse over an object, and the anchor points will change
colour. First, however, I am going to drag this menu off to have it
available when I want it.
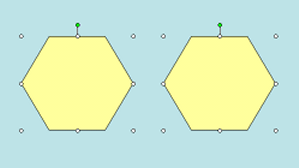
I have selected a straight connector.
This is what happens when the mouse is moved over an object with
anchor points.
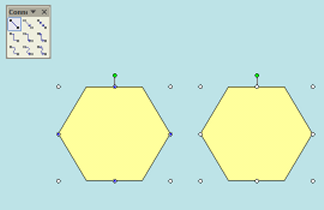
Note the little blue dots where the hexagon lines change direction.
These are the points where we can attach our connector.
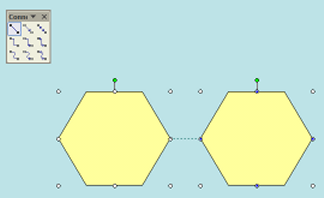
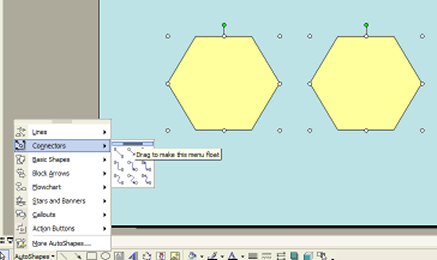
When we click on the image at the left, the connector attaches
itself to the closest node. When we move the mouse to the other
shape, we notice that blue dots will appear on it. As we move to
different areas on that shape, the connector will jump between
different points. This highlights which anchor point the connector
will attach itself to next.
When we click again and "set" the second connector attachment, the
dots turn to red to show attachment.
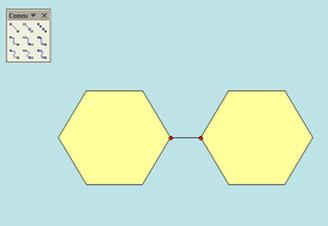
What we have just done could be done again for more connectors.
Method Two
© Glen Millar
Last Updated:
March 28, 2005
|
